01 - Getting Started
In the modulesbuilder folder, which you can download at https://s3-eu-west-1.
Requirments:
- Python 3
- Jupyter notebooks
Installing Python 3 and Jupyter notebooks:
The easiest way to install both Python 3 and Jupyter notebooks, if you do not already have them installed, is to install Anaconda. Anaconda installers for Windows can be downloaded at https://www.continuum.io/downloads#windows. Download either the 32 or 64 bit installer of the Anaconda Python 3.6 version installers, depending or whether your computer is a 32 or 64 bit computer. Run the Anaconda installer and both Python 3 and Jupyter notebooks will be installed.
Installation:
In order to get started, download the modulesbuilder.zip file and unzip it to a location on your computer, such as your Documents folder. Once the file is extracted, open it and you should see a file named configTemplate.py. Open the file in notepad and you should see the following line.
uvcustommodulelocation = "C:\\Users\\sciss\SCISS\\Uniview Theater 2.0\\Custom Modules"
Change the path in quotes so that it points to the Custom Modules file in your Uniview installation, and save the file as config.py. It will not work if you just store your changes in the original configTemplate.py.
Running Notebooks:
In order to run the notebooks launch the "Anaconda Prompt" from the Start-menu. First set the command prompt's working directory to the modulesbuilder folder. If you installed the modulesbuilder in your Documents folder, that can be done by entering to command
cd Documents\modulesbuilder
Different installation locations will require different filepaths for the cd command. Once the command prompt is in the modulesbuilder folder, you can start the Jupyter notebooks by entering the command
jupyter notebook
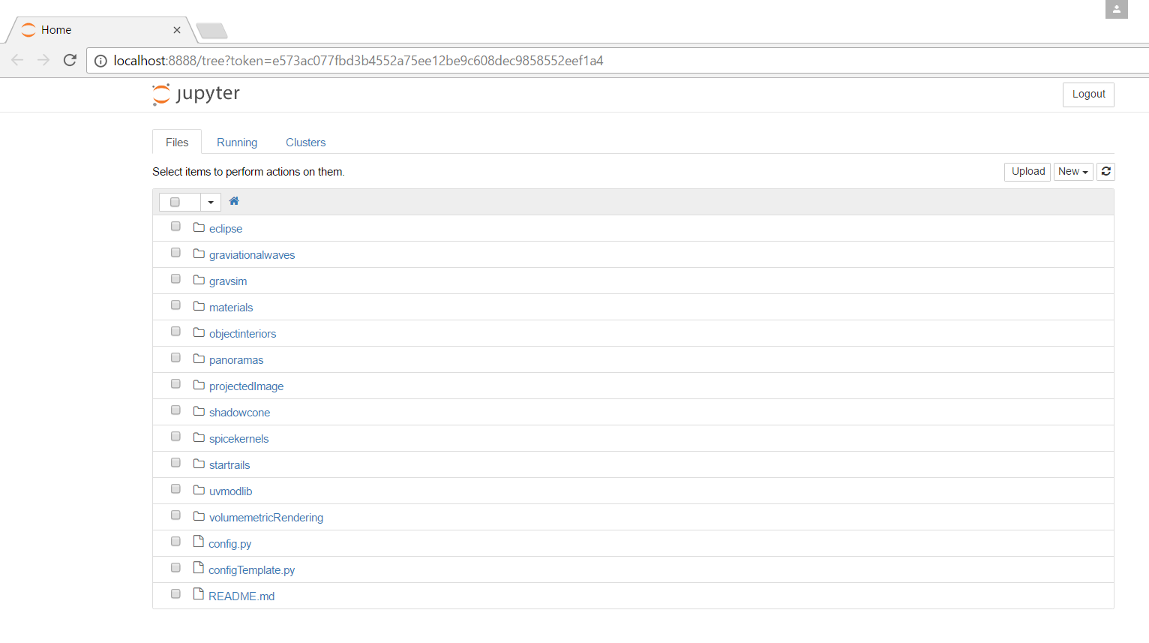
That should launch a webpage that looks like this

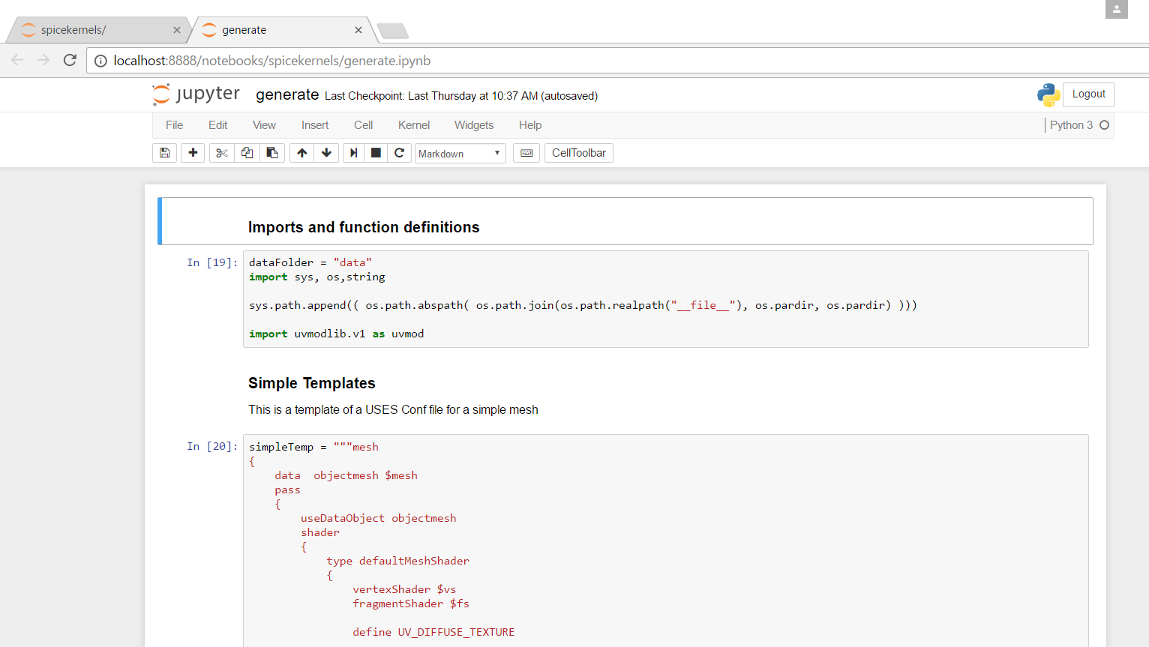
If you click on the spicekernels link, you will see that that folder contains a data folder and and file named generate.ipynb. If you open the generate.ipynb file in the jupyter webage you will open the notebook which looks like this

The notebook contains multiple cells, some of which contain markdown and some of which contain python code. To run just the cell that you have selected you can press the next button (to the left of the stop button) or use the shortcut Shift-Enter. To run all the cells in order, go to Cell→Run All. Running cells out of order may result in errors which can be fixed by running the cells in order. Once the entirety of the notebook has been run, you should be able to see that a folder named SpiceAndKeplerExample has been created in your custom modules folder and a module named "Spice and Kepler Example" can be added as a custom module in Uniview. You can read more about how this notebook works in another article here:
https://uniview.userecho.com/topics/601-modulesbuilder-and-spice-kernels/
In order to quit the Jupyter notebook, go to the command prompt you launched the Jupyter notebook from and hit Ctrl-C once or twice to stop running the notebooks.
Customer support service by UserEcho


Followed the instructions as far as I can tell, but no custom module was generated.
Got it working.
Saw the part about modifying the configTemplate.py file, but missed the part about saving it as config.py. My bad.